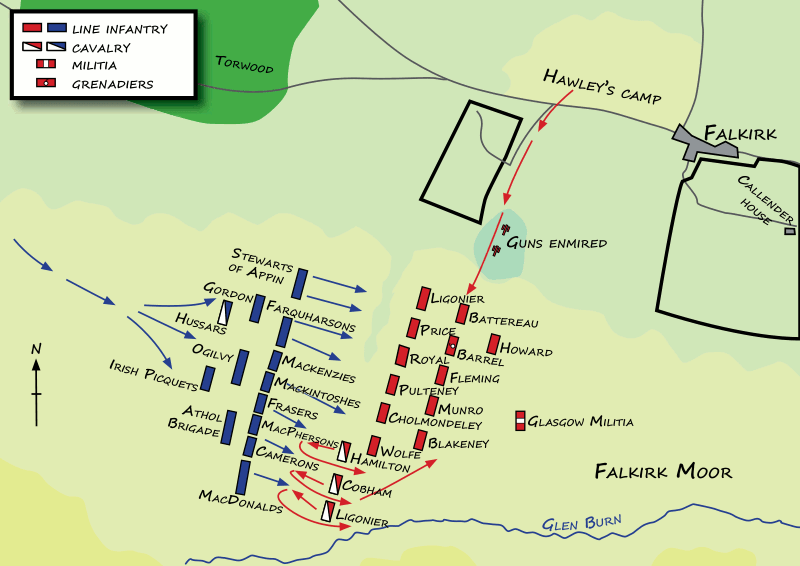
The BattleIn December 1745 the Jacobites combined with fresh forces raised in the north and began a siege of Stirling Castle. Meanwhile, a strong Government force under General Hawley began its preparations for a counter-offensive in Edinburgh. Following a foraging raid by Jacobites into Linlithgow, the Government army marched out of Edinburgh and occupied Falkirk, establishing their camp to the west of the town.
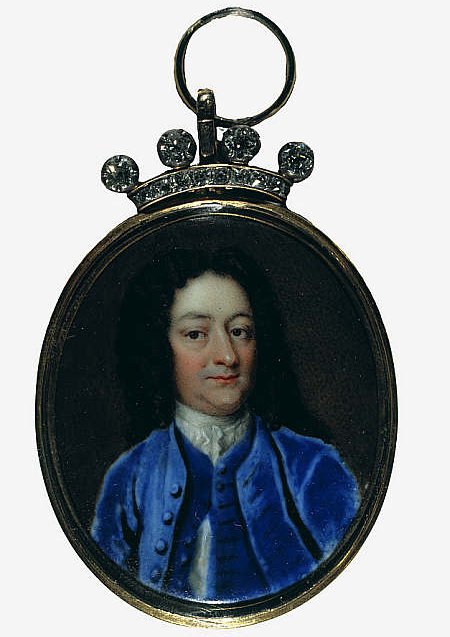
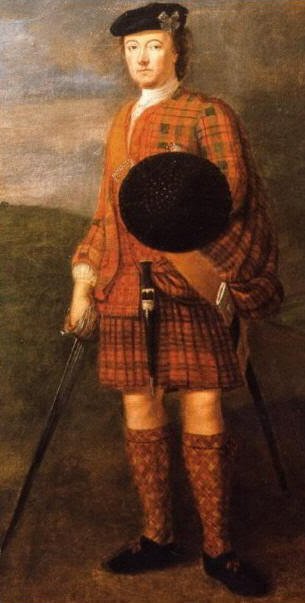
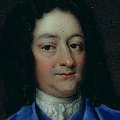
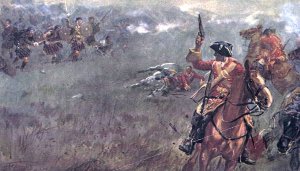
The first engagement came with a left flank Government dragoon attack on the Jacobite right, but this was fought off, initially by the delivery of a musket volley by the Highland troops. Despite heavy losses, the dragoons crashed into the Jacobite line but were fought back at point of sword and dirk. The left flank units were unable to reform in time to fire the intended volley before the Highlanders charged and came in to hand to hand combat. Under this pressure, the Government regiments on the left and centre left broke, carrying the militia reserve with them. Highlanders then rushed on in pursuit. Though it was important to keep the broken Government troops from reforming, the success on the Jacobite right ought to have led to a flank attack on the hard pressed Government left. Instead, many of those troops on the Jacobite right pursued the Government forces off the moor and pillaged their camp. Meanwhile, the Government right flank, that had the added protection of a steep ravine to prevent enemy attack, held the line against the Jacobites. They were joined by Barrel's and other rallied units, some from the second line, and a strong fighting position was at last adopted, with the left flank anchored on some buildings and the right on the ravine. The failing light and heavy rain prevented a Government offensive at such a late stage, even though so many of the Jacobite forces were disordered or had left the field, and Hawley therefore retreated back to his camp and then back towards Edinburgh. The battle was relatively short and saw the Jacobites effectively left in command of the field but in reality the victory was a hollow one. The Government forces certainly did not see Falkirk as a defeat, though the round of courts martial and executions which followed suggest that the outcome had caused considerable embarrassment. Faced by the difficulties of a winter campaign and growing numbers of deserters, the Jacobites abandoned the Stirling siege and marched north, with many of the Highlanders dispersing until a new muster in the spring. Events and ParticipantsThe Jacobite army was led by Charles Edward Stuart. His commander in the field was Lord George Murray who had seen service on the Continent and had also fought at the Battle of Glenshiel in 1719. The Government Army was commanded by Lieutenant General Henry Hawley. He was known by his own men as Hangman Hawley due to his harsh treatment of the men. Certainly his treatment of the defeated Jacobites after Culloden was very severe when he was tasked with suppressing Highland areas still deemed as hotbeds of dissent. Another notable personality was Sir Robert Monro of Foulis who was killed at Falkirk leading his regiment, which had fled behind him. He was tended in the field by his brother who was also cut down and killed by the Jacobites. Both men are buried in the churchyard in Falkirk town. |
 General Hawley 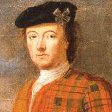 George Murray CasualtiesThe reports indicate that the royal army lost around 350 men killed, wounded and missing. Some 300 were captured. The highlanders lost some 50 dead and 70 wounded. Follow-upFollowing the battle Hawley led his army back to Edinburgh. There the Duke of Cumberland arrived to take over command on 30th January 1746. Battle Maps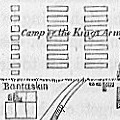 18th Century 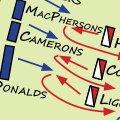 Modern |
 Instead of waiting for the Government force to attack them at Stirling, the Jacobites advanced to the high ground to the south of Falkirk, from where they proposed to attack the Government camp. In the absence of effective Government scouting, the Jacobite commander,